Introduction to AntDock
Welcome to the official tutorial for AntDock, an advanced molecular docking platform engineered for high-throughput virtual screening and detailed binding analysis. AntDock is designed to accurately predict the binding interactions between small molecules (ligands) and protein targets. At its heart, AntDock utilizes a cutting-edge algorithm inspired by Ant Colony Optimization (ACO), a powerful metaheuristic that efficiently explores the vast conformational space to identify the most stable and energetically favorable binding poses.
The tool delivers a precise binding affinity score (in kcal/mol) and a high-resolution 3D model of the docked complex, making it an invaluable asset for drug discovery, lead optimization, and chemical biology research. This guide will walk you through each stage of performing a successful docking simulation with AntDock.
A Step-by-Step Guide to Execute the Tool
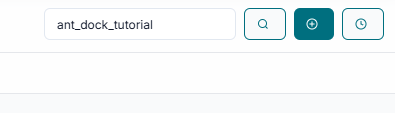
Before you can begin, you must create a unique JOB ID. You can either type in a custom name or simply click the "Create Job ID" button to have one generated for you automatically.
TIP: The JOB ID is mandatory; without it, all other tool options will remain disabled.
Receptor Preparation
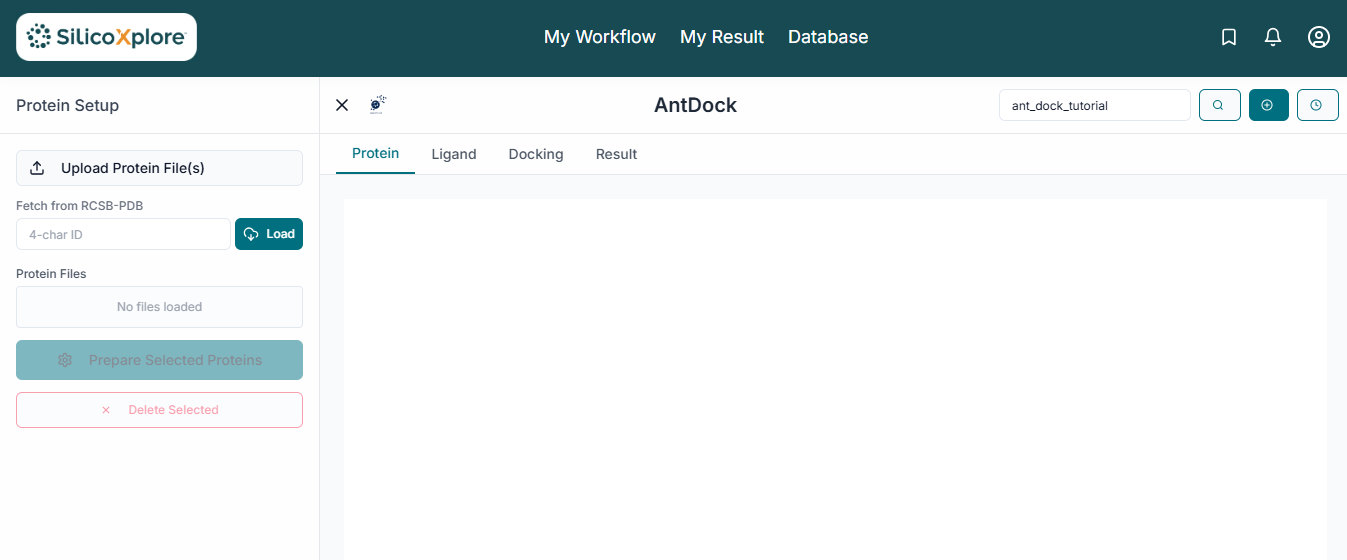
This is the main application workspace for AntDock. The interface is organized to guide you through the docking workflow, from file uploading on the left to visualization on the right. To start, you need to upload your target protein. Click on the "Upload Receptor" button in the File Uploader section to select your protein structure file, which must be in .pdb format.
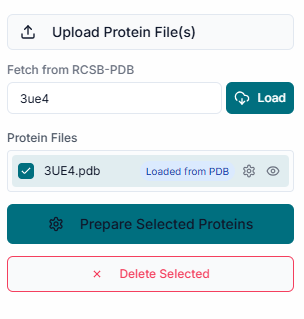
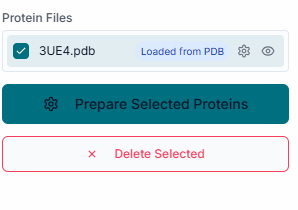
Once the receptor is uploaded, its name appears in the "Uploaded Receptor" list to confirm it's loaded. Simultaneously, the protein structure is automatically rendered in the 3D visualization pane.
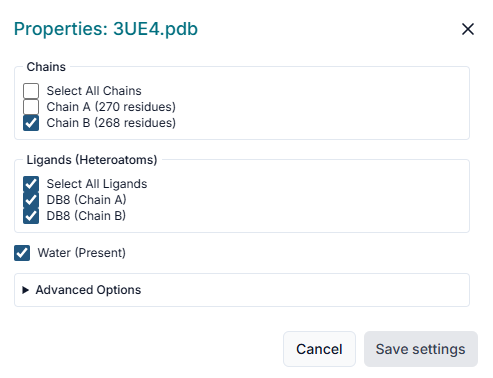
A "Properties" window will pop up to prepare your protein. Here you can select which "Chains" to include, remove any pre-existing "Ligands" or "Water" molecules, and ensure "Repair protein" is checked to fix structural issues before clicking "Save Selections".
Ligand Preparation
Next, you must provide the small molecules for docking. Click the "Upload Ligands" button and select your compound library file (e.g., in .sdf or .smi format).
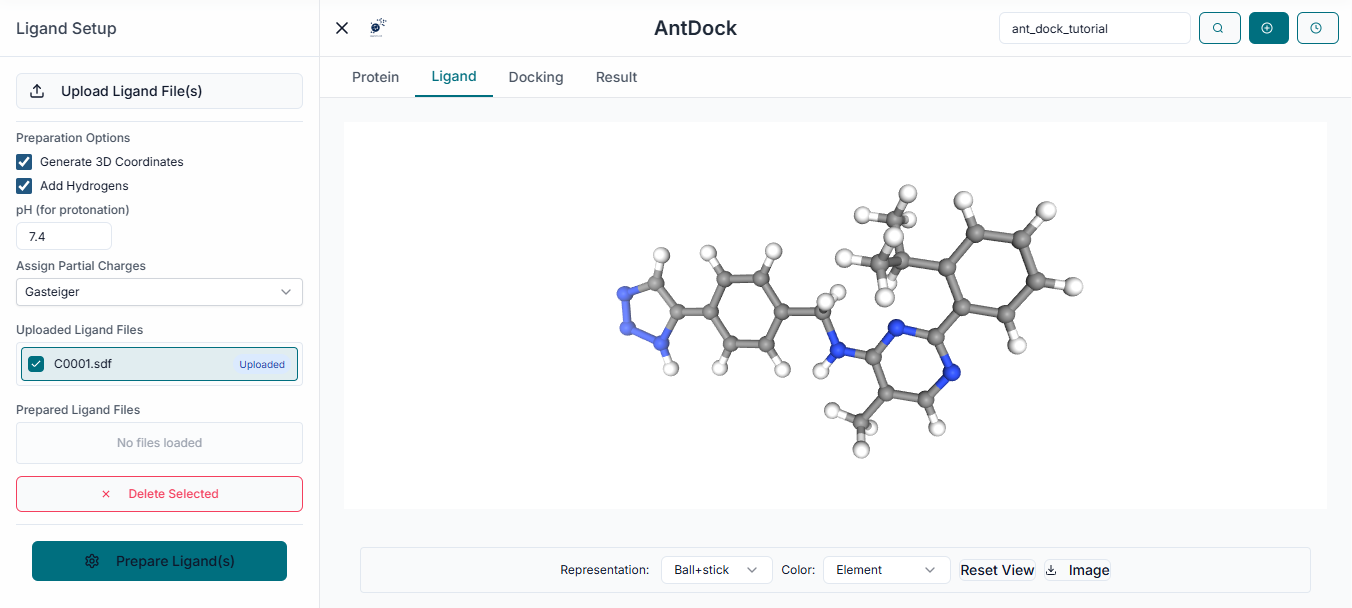
The name of your uploaded ligand file will be displayed under the "Uploaded Ligands" section, confirming that your compounds are ready for the simulation.
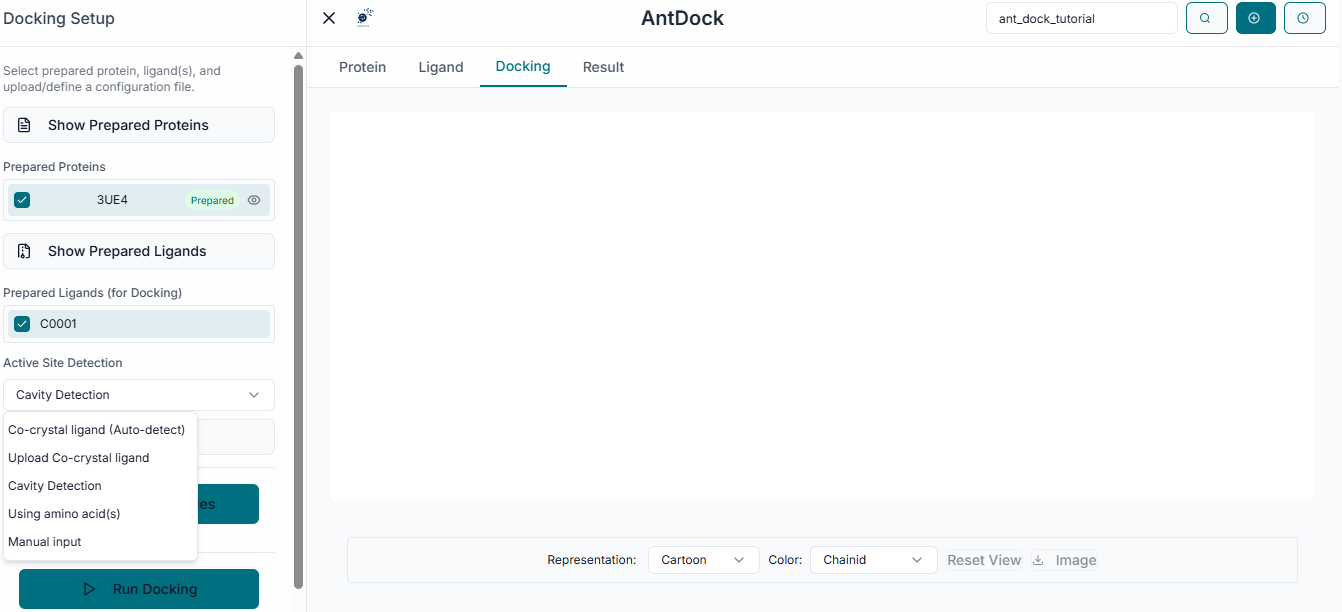
Grid Box Configuration
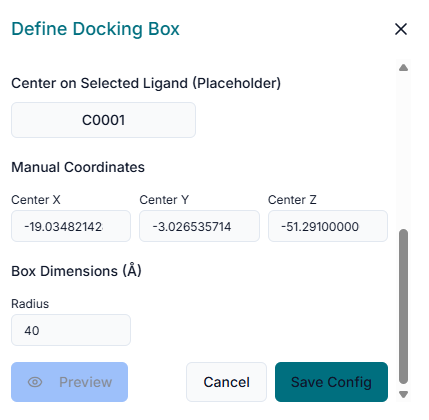
The next step is to define the binding site. In the "Binding Site Configuration" section, you must specify the exact location on the protein where the docking should be performed.
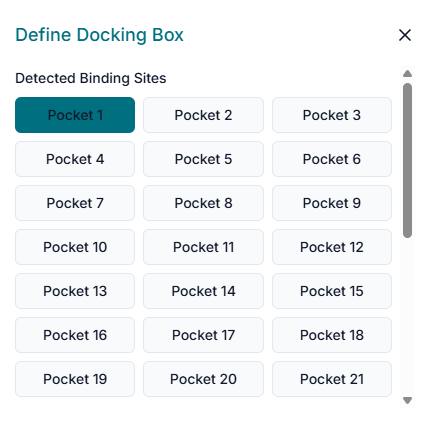
Begin by entering the "Center Coordinates" (X, Y, Z) of your target binding pocket. After setting the center, define the "Size" (X, Y, Z) of the search space. This creates a virtual box that should be large enough to encompass the entire binding cavity.
Running the Docking Simulation and Analyzing Results
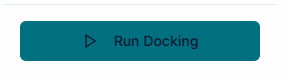
With the receptor and ligands loaded and the binding site defined, you are ready to start the docking run. Click the "Run Docking" button to initiate the simulation.
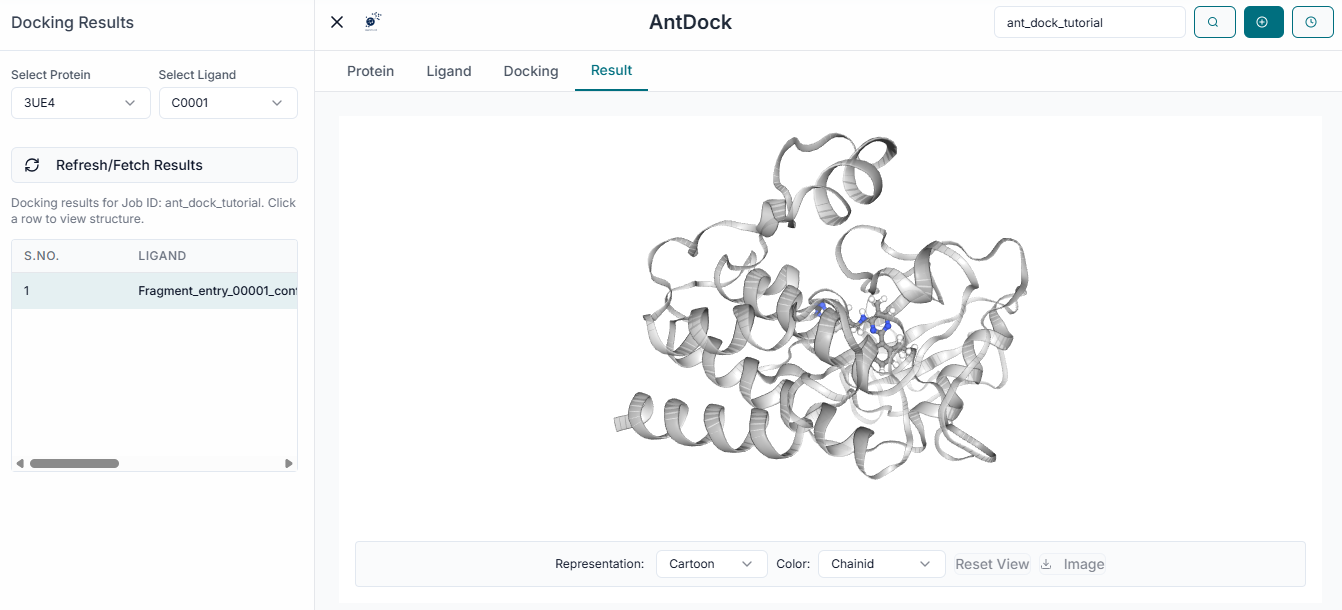
After the calculation is complete, the results will be displayed in the "Results Table". This table lists each ligand with its calculated Binding Energy (kcal/mol), a key indicator of binding strength.
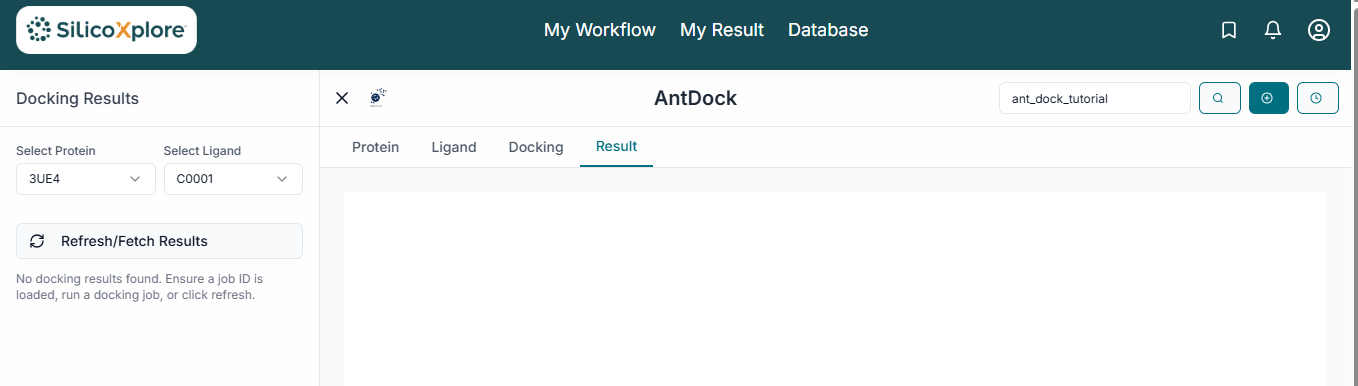
To analyze a specific result, click on its row in the table. The 3D viewer will instantly update to show the selected ligand in its predicted binding pose within the protein's active site. To save your findings, click the "Download Results" button. This will provide a comprehensive package including the results summary in a CSV file and the 3D coordinates of the docked poses for further analysis.